2015-02-01 22:46:00 GMT
OBS Overlay - The illustrated guide
Preface
--
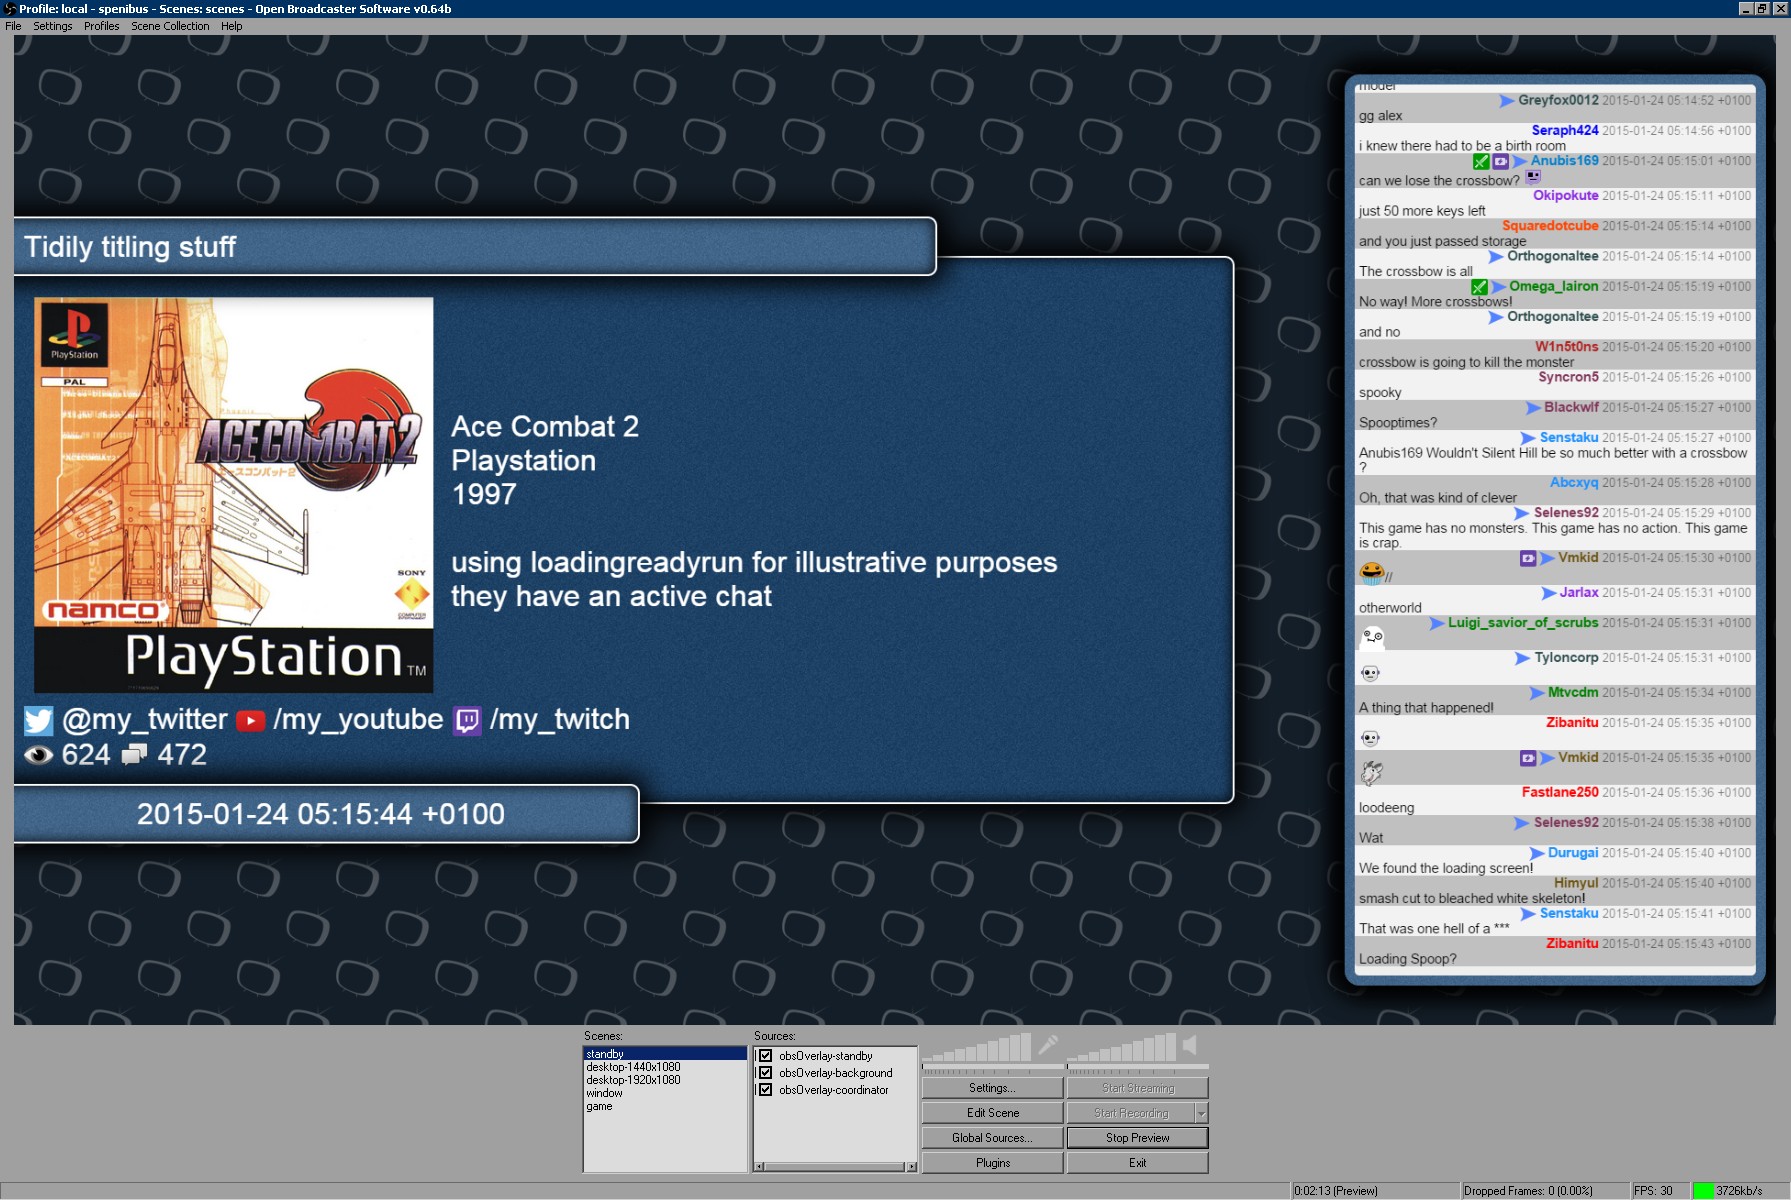
OBS Overlay is a customisable overlay for Open Broadcaster Software. It is essentially an engine that monitors a configuration file and updates the interface accordingly. Here is an example of what it can look like:
Download
--
<https://github.com/spenibus/obs-overlay-html-js>
<https://gitlab.com/spenibus/obs-overlay-html-js> (mirror)
Pre-requisites
--
* [Open Broadcaster Software](https://obsproject.com/)
* [CLR Browser Source Plugin](https://obsproject.com/forum/resources/clr-browser-source-plugin.22/)
Basics
--
There is a `./readme.txt` included in the files that you should probably read.
OBS Overlay is made of 4 documents that can be added as sources to OBS, one of which is mandatory for the engine to work. They are as follows:
* **coordinator.html**
This is the brain of the engine. It should not be visible on video but has to be running in the background. It is advised to start streaming with the scene where this document is located to make sure it initiliazes properly.
It only needs to be included once, as it will continue working even when switching to a scene where it is not included.
It is mandatory if you want OBS Overlay to work.
* **background.html**
Something to put behind everything else in the video.
* **standby.html**
This is the document to be shown when the video is live but idle.
* **overlay.html**
This is the document to be shown when the video is live and active.
Installing
--
Download the latest version from the repository and unpack it at a location of your choice. You should see this structure:
````txt
obs-overlay
│ background.html
│ changelog.txt
│ coordinator.html
│ core.js
│ overlay.html
│ readme.txt
│ standby.html
│
├───plugins
│ clock.js
│ obschat.js
│ obschatmod.js
│ twitch.js
│
├───styles
│ └───default
│ │ default.css
│ │
│ └───default
│ bg-box.png
│ bg-wall.png
│
└───user-example
│ config.html
│ credits.txt
│ readme.txt
│
└───img
gfx-chat.png
gfx-viewers.png
icon-twitch.png
icon-twitter.png
icon-youtube.png
````
We will use the example configuration provided with the source.
1. Rename `./user-example` to `./user`
2. Move `./plugins` to `./user/plugins`
3. Create the folder `./user/styles`
4. Move the files from `./styles/default` to `./user/styles`
5. You can delete `./styles` if you want as it is now empty
You should end up with the following structure:
````txt
obs-overlay
│ background.html
│ changelog.txt
│ coordinator.html
│ core.js
│ overlay.html
│ readme.txt
│ standby.html
│
└───user
│ config.html
│ credits.txt
│ readme.txt
│
├───img
│ gfx-chat.png
│ gfx-viewers.png
│ icon-twitch.png
│ icon-twitter.png
│ icon-youtube.png
│
├───plugins
│ clock.js
│ obschat.js
│ obschatmod.js
│ twitch.js
│
└───styles
│ default.css
│
└───default
bg-box.png
bg-wall.png
````
Adding to Open Brodcaster Software
--
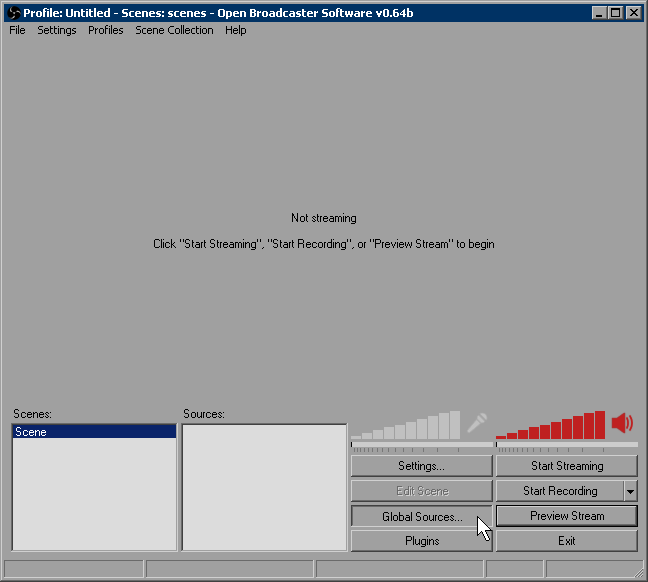
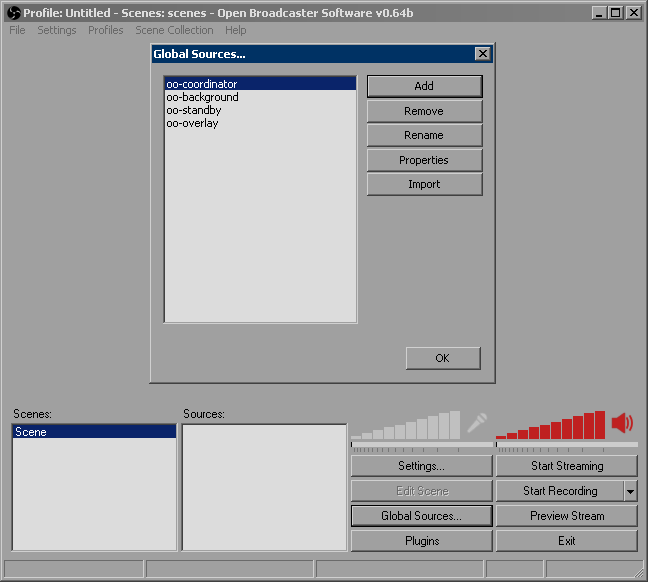
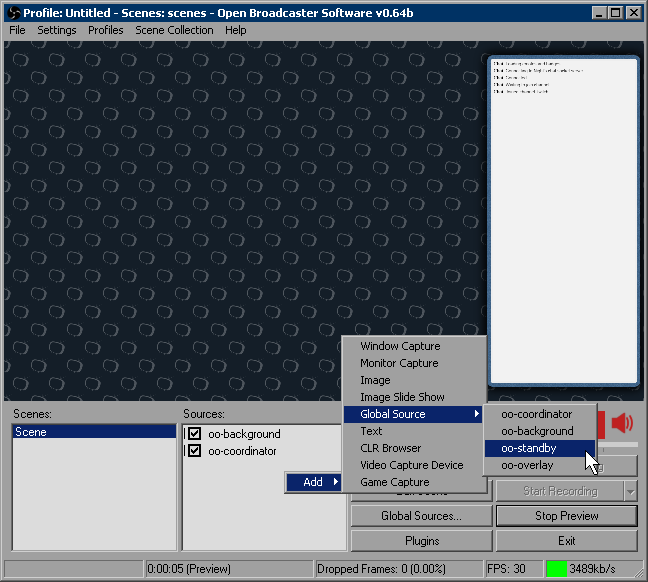
Now open OBS (make sure the CLR browser plugin is installed) and click on `Global Sources`.
Then `Add` and `Add CLR Browser`
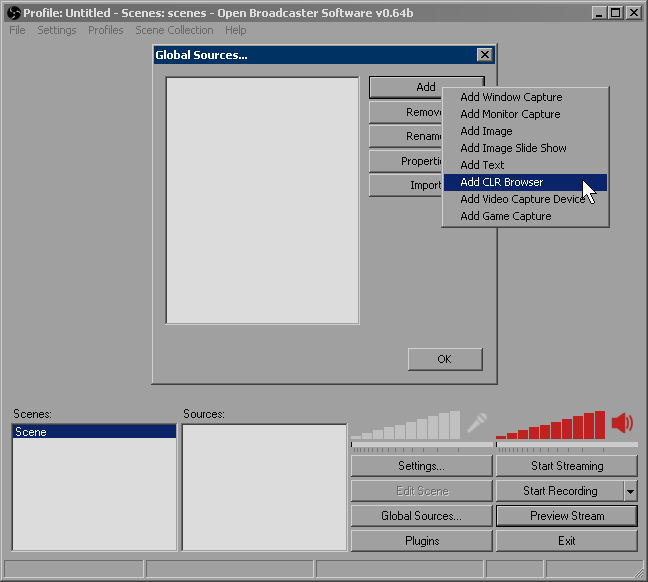
Enter the name of you choice (choose "oo-coordinator") and press `OK`.
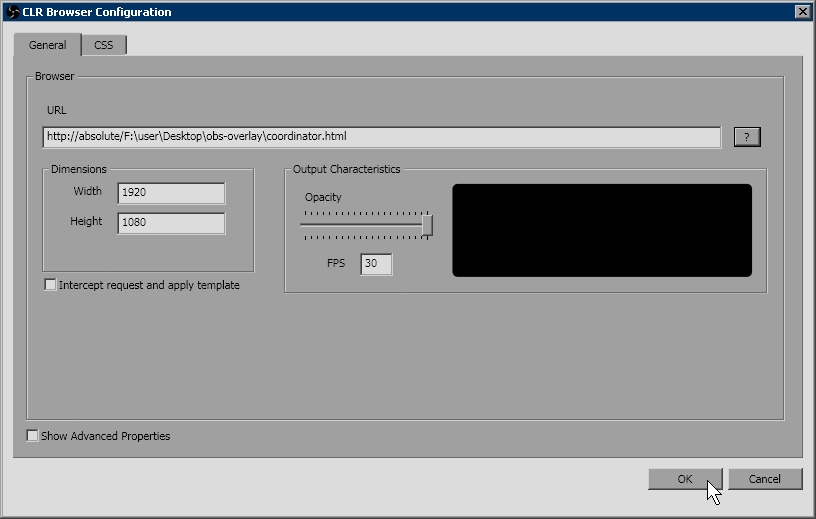
The `CLR Browser Configuration` window should appear. Click on the interrogation mark next to the `url` field, navigate to the OBS Overlay folder and select "coordinator.html", then set the dimensions to your video dimensions (or less if you like pixels, more if you want supersampling).
Then do the same for:
* "background.html" as "oo-background"
* "standby.html" as "oo-standby"
* "overlay.html" as "oo-overlay"
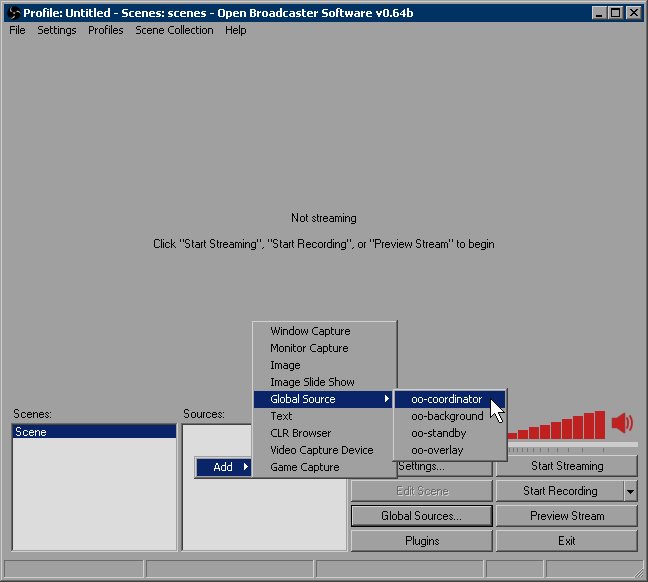
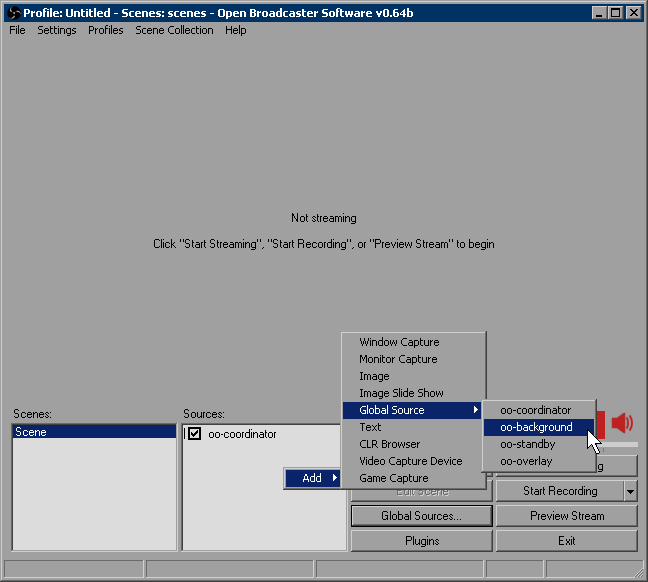
Now we add the coordinator to our main scene and hide it behind the background.
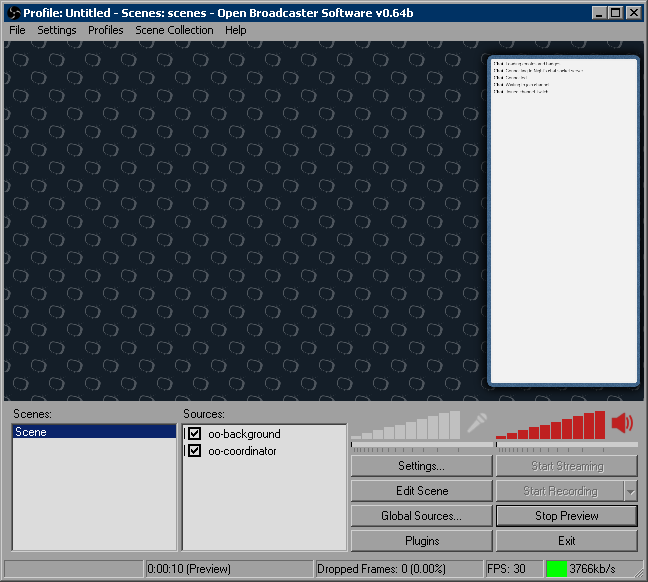
We now click `Preview Stream` to see if it works. It should look like this:
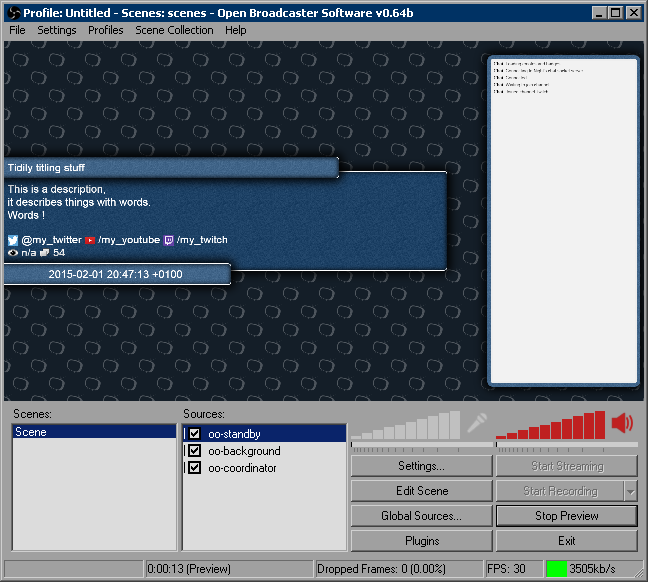
Our main scene will also be our standby scene, so we add "oo-standby" to it:
We run the preview:
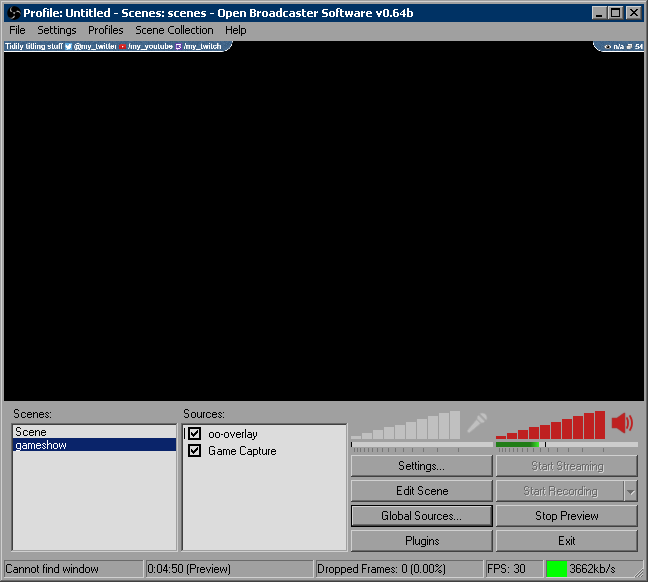
We now create a new scene called "gameshow" that will show a game and the overlay. We add a `game capture` source and "oo-overlay" from the global sources. Then we run the preview:

We are going to make the overlay slightly less intrusive by removing the small chat window, removing the time and merging the title and contact info. To do so we edit `./user/config.html`. The following modifications will be done while the preview is running and OBS Overlay will update the overlay when the configuration file is saved.
We remove the small chat:
````
<var name="core.elem.overlay.extra">
<div data-var="myChatSmall"></div>
</var>
````
becomes
````
<var name="core.elem.overlay.extra"></var>
````
We remove the time:
````
<var name="core.elem.overlay.top.right">
<span data-var="clock.dateTimeZone"></span>
</var>
````
becomes
````
<var name="core.elem.overlay.top.right"></var>
````
We merge title and contact info:
````
<var name="core.elem.overlay.top.left">
<span data-var="myCredits"></span>
</var>
````
becomes
````
<var name="core.elem.overlay.top.left">
<span data-var="myTitle"></span>
<span data-var="myCredits"></span>
</var>
````
And we remove the title from its previous position:
````
<var name="core.elem.overlay.bottom.left">
<span data-var="myTitle"></span>
</var>
````
becomes
````
<var name="core.elem.overlay.bottom.left"></var>
````
Then we move up the twitch stats:
````
<var name="core.elem.overlay.top.right"></var>
<var name="core.elem.overlay.bottom.right">
<span data-var="myTwitchStats"></span>
</var>
````
becomes
````
<var name="core.elem.overlay.top.right">
<span data-var="myTwitchStats"></span>
</var>
<var name="core.elem.overlay.bottom.right"></var>
````
It should now look like this:
Variables
--
You may be wondering about what we just did. We used variables. This is what the configuration file is mostly about.
Here is how they work. You can create a variable like this:
````
<var name="myName">SuperDoge</var>
````
The value "SuperDoge" is now associated to the variable "myName". To use this variable, you can do this:
````
<span data-var="myName"></span>
````
OBS Overlay will replace the content of the span element with the value of the associated variable. It will basically look like this after processing, although you will never see it directly:
````
<span data-var="myName">SuperDoge</span>
````
You can use html in your variable, for example:
````
<var name="myName"><span style="color:red;">Super</span>Doge</var>
<var name="myAvatar"><img src="myAssets/avatar.jpg" style="height:4vh;"/></var>
````
Note that you should be careful with scaling whatever is included, notably images. It is strongly recommended to use css viewport units (`vw` and `vh`) for consistency.
Epilogue
--
Since this is already quite long, I will end this here. I might follow up to explain more things. Make sure to read `./readme.txt` in the meantime. The best way is to experiment. It's also the only way because writing documentation is super annoying and I'm the only author. So... good luck, if you can be bothered.